
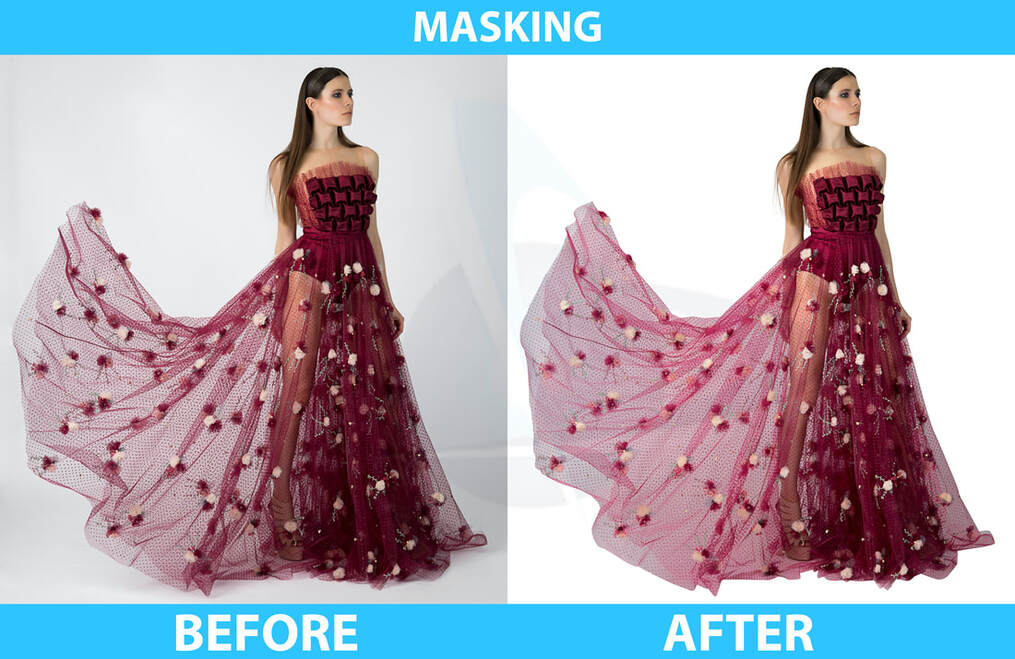
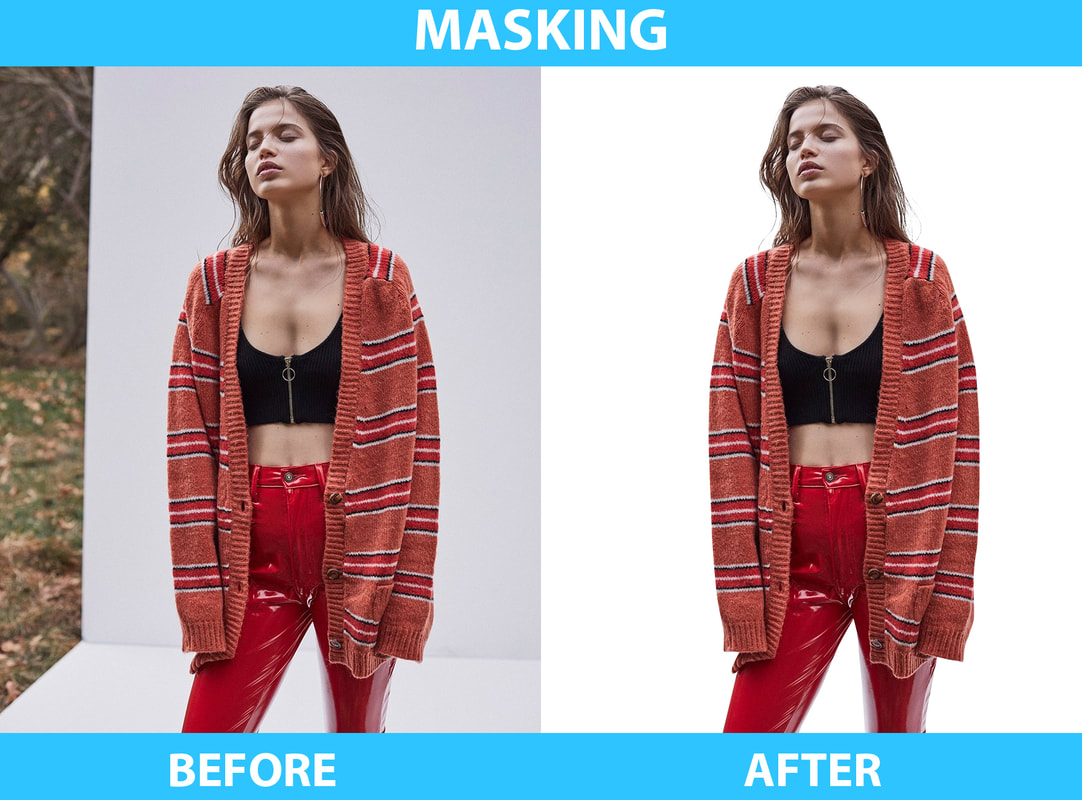
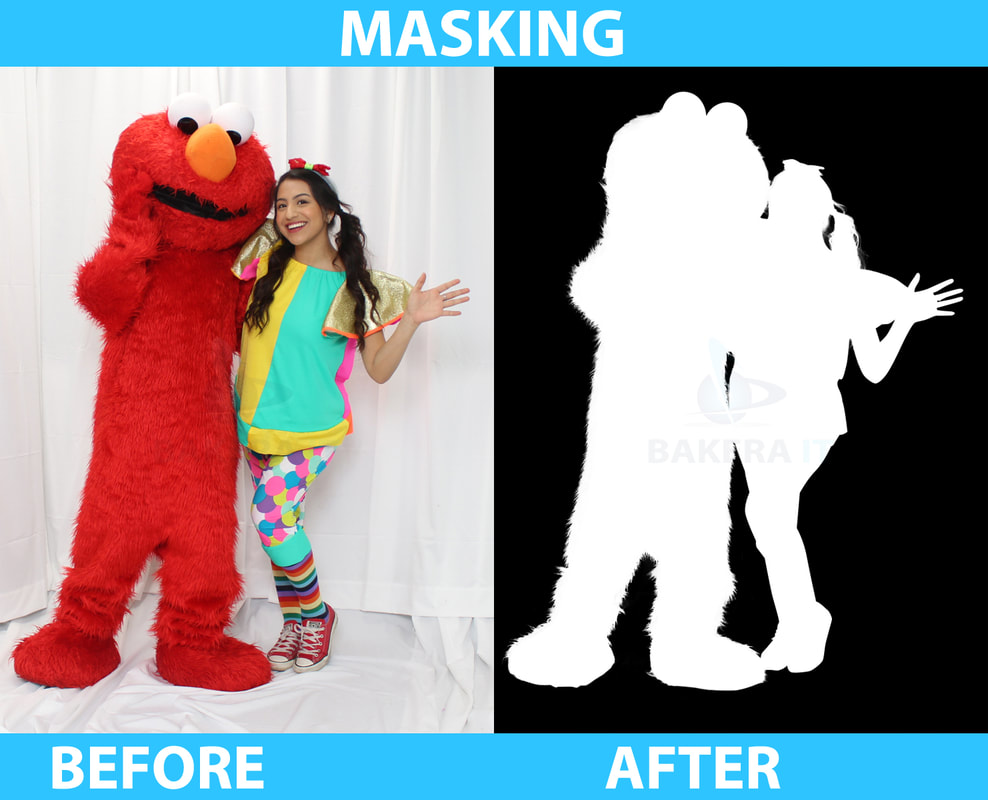
MASKING
Photoshop layer masking and alpha masking service designed for photographers, image editors, graphic designers and all those who take digital image editing seriously. We have strong streamlined interface and workflow for fastest and amazing edge quality masking result.
Our masking experts instantly find out key edges in the image and use Photoshop masking technique and other latest tools Corel KnockOut, Mask Pro & Fluid Mask that work with difficult-to-see edges and tricky areas like trees & lattices.
nother part of clipping path
Our masking experts instantly find out key edges in the image and use Photoshop masking technique and other latest tools Corel KnockOut, Mask Pro & Fluid Mask that work with difficult-to-see edges and tricky areas like trees & lattices.
nother part of clipping path
What is Photoshop Masking?
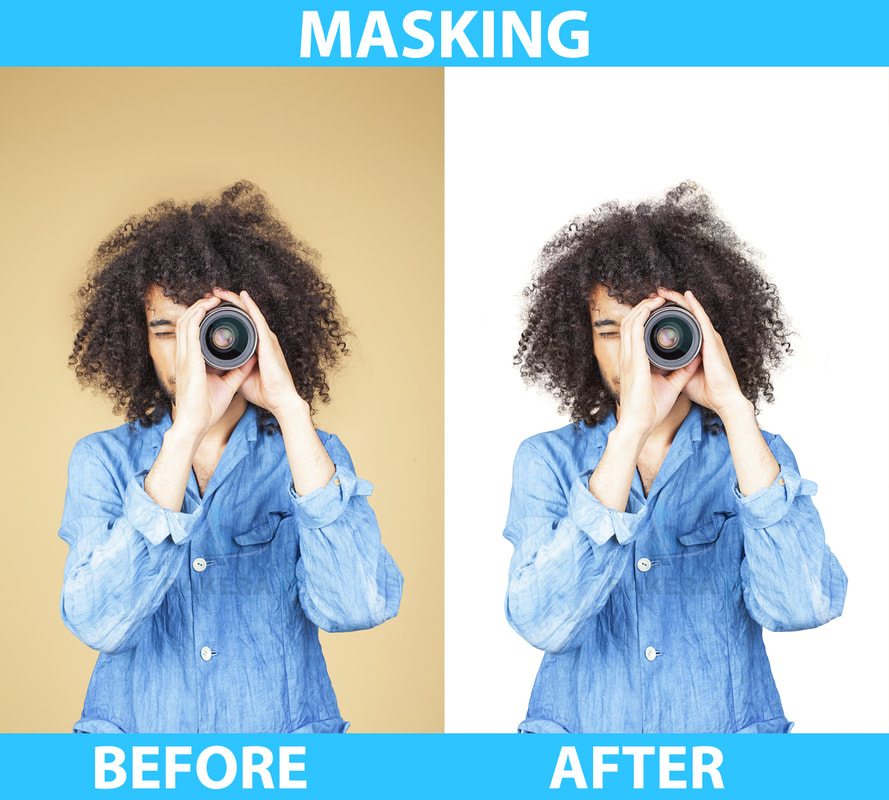
Photoshop masking is one of the photo editing techniques used to extract an object form its original background like what clipping path does. In real, clipping path and image masking are two different techniques, though both serve the same purpose. Usually clipping is applied to cut out the images with hard and clear edge while, Photoshop masking technique is used to isolate the images with subtle edge like hair, fur, leaves or fiber.
How to Apply Masking?
There are several methods of accomplishing Photoshop masking. It includes color separation technique, channel mask, extract tool, background erase tool etc. The strategy varies on the basis of the complexity of an image. It may require applying more than one technique on a single image while masking the image from its original background. Here, I am describing each technique in short:
- Color Separation: In this method the background color of the image has to be completely distinguished from the object color. If the hair or fur color is black the existing background color has to be white or any other light color. If this method works, the DTP will adjust the color of the image in such a way that will intensify the difference between the background and foreground. After doing the color balance it will allow the designer to apply quick selection tool to select the object without harming any part of the image.
- Channel mask: This is an awesome shortcut masking technique. Here you have to see the image view from each channel separately. Select the channel that represents the difference between the object and the background best and then do color balance like previous. When the color balance is done press Ctrl + Click on the selected channel (windows) or cmd + click on the selected channel (Mac). It will make the selection properly. Then, capture the channel on an additional new channel layer that will create the alpha channel.
- Extract tool: Extract tool is also quite effective for complex masking. In order to apply extract tool just click filter>extract and customize the option according to the image. Then, highlight the edge of the image and apply the action. It will erase the background and keep the foreground intact. The accuracy depends on the proper customization of the options while applying it on the image.
- Background eraser tool: This is the most popular tool used for Photoshop masking. In this case you have to create a clipping path around the solid area to keep it intact while applying the background eraser tool. This is quite subtle technique. If anything goes wrong the details of hair or fur will be lost. So while applying this technique you have to be very careful about the flying hair. Test the hair against both black and white background while processing to be sure that you are on right track.
